
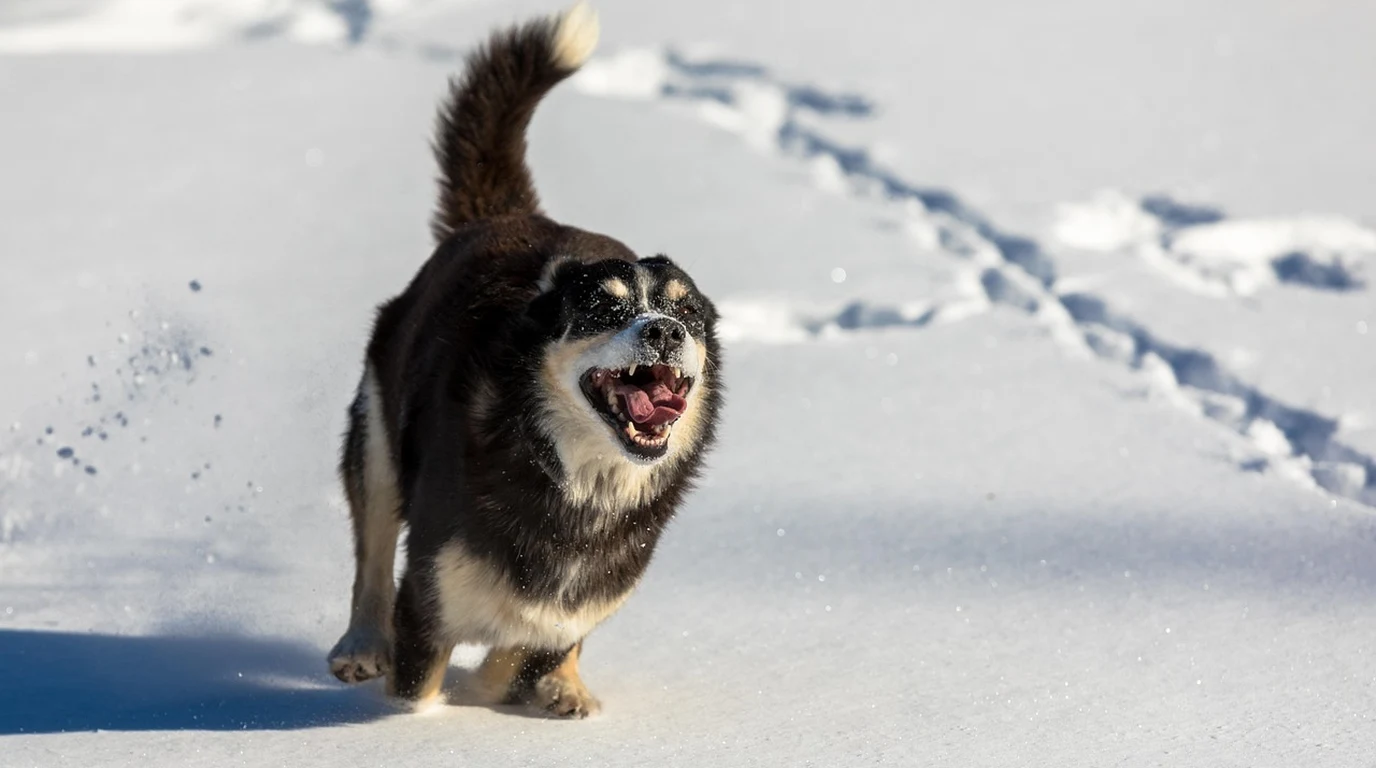
Protecting dog paws in winter requires matching the solution to moisture exposure and chemical intensity. Rugged rubber-soled booties provide absolute protection against toxic exothermic road salts and deep ice; disposable silicone boots excel for short, wet urban walks; while barrier waxes work best above freezing or on salt-free dry snow.
Why Does Road Salt and Sub-Zero Ice Cause Such Severe Paw Damage?
To protect your dog’s feet effectively, you first have to understand the triple threat working against canine anatomy every time temperatures dip below freezing: chemical reactions, mechanical trauma, and physiological thermal loss. Canine paw pads are marvels of biological engineering, composed of specialized keratinized epithelium, adipose tissue, and a complex vascular net designed to resist thermal transfer. However, modern municipal winter treatments completely overwhelm these natural defenses.
The primary villain on urban sidewalks is rock salt—specifically sodium chloride ($NaCl$), calcium chloride ($CaCl_2$), and potassium chloride ($KCl$). Calcium chloride is especially hazardous because it is exothermic. When calcium chloride crystals come into contact with the moisture on your dog’s wet paw pads or interdigital webbing, a chemical reaction occurs that releases thermal heat. The salt literally burns the tissue while simultaneously pulling cellular moisture out of the pad through osmosis. This rapid desiccation causes micro-fissures, chemical ulceration, and excruciating pain. To make matters worse, dogs instinctively lick their burning paws when they return home. Ingesting these concentrated industrial salts leads to chemical burns of the mouth and esophagus, severe gastrointestinal distress, and, in heavy doses, systemic sodium toxicity (hypernatremia) which can manifest as neurological tremors and acute renal stress.
Beyond chemical burns, winter introduces physical friction hazards. Interdigital hair—the fur growing between your dog’s toe pads—acts as a wick for slush and wet snow. As your dog walks, body heat melts the top layer of trapped snow. The sub-zero ambient air immediately refreezes that moisture into hard, jagged ice spheres anchored directly to the fur. With every step, these sharp ice balls act like coarse sandpaper, slicing into the soft skin of the interdigital webbing. This condition, known clinically as interdigital dermatitis, creates open wounds that invite bacterial infection.
Finally, sub-zero temperatures trigger extreme peripheral vasoconstriction. To preserve core body temperature, your dog’s vascular system restricts blood flow to the paws. Reduced blood flow decreases pad tissue elasticity, making the tough outer skin brittle. When brittle pads hit jagged frozen terrain, the skin splits open into deep, bleeding fissures that take weeks to heal because every step reopens the wound.
Which Winter Paw Protection Method Is Right for Your Dog?
The single biggest mistake dog owners make is assuming all winter paw protection products do the same job. Slapping a natural wax on a dog walking across sidewalks caked in chemical calcium chloride pellets will lead to failure, just as putting heavy-duty polar boots on a dog for a quick five-minute potty break in dry powder is often overkill. Understanding the mechanical differences across protective categories is essential.
1. Rugged Rubber-Soled Booties (e.g., Ruffwear Polar Trex, Muttluks Snow Musher): Built like miniature hiking boots, these feature vulcanized rubber or Vibram lugged soles, heavy-duty Cordura or neoprene uppers, and hook-and-loop closure straps. They offer total protection against chemical de-icers, thermal loss, and sharp ice. However, they require careful sizing, a structured acclimation process, and can sometimes slip if your dog’s paws fall between standard size increments.
2. Disposable Silicone Booties (e.g., Pawz): Made of natural rubber, these look like uninflated latex balloons. They offer zero thermal insulation, but they excel at creating a 100% waterproof chemical barrier. Because there is no padded sole, dogs maintain full tactile ground feel (proprioception), which means almost zero learning curve or awkward walking. Their downside? They can act like a tourniquet if left on too long or sized too small, and sharp crusted ice can slice through them easily.
3. Natural Barrier Waxes (e.g., Musher’s Secret, Bag Balm): Formulated from food-grade beeswax, paraffin, and vegetable oils, waxes are rubbed directly onto the pads and between the toes. They create a breathable, hydrophobic shield that prevents ice from balling up in interdigital hair. Wax is fantastic for high-endurance running on packed, clean snow. However, wax offers zero impact protection against sharp ice edges and washes off quickly when walking through wet, chemical-laden slush.
The matrix below breaks down how each solution performs under real-world winter conditions so you can select the precise tool for your environment:
| Protection Category | Traction & Surface Control | Chemical & Salt Barrier | Staying Power & Security | Dog Acceptance Level |
|---|---|---|---|---|
| Rugged Rubber Booties (Hard Sole / Neoprene) |
Exceptional on packed snow & slick ice; heavy tread grips granite & pavement. | Maximum. Complete physical barrier against all chemical de-icers. | High, provided dual-strap tensioning is adjusted properly to narrow ankles. | Moderate to Low initially. Requires structured behavioral acclimation. |
| Silicone Booties (Flexible Rubber Sheaths) |
Good on wet asphalt; poor on thick packed ice due to lack of deep tread lugs. | High against liquids, but vulnerable to punctures from sharp ice crust. | Very High. Fits skin-tight around the ankle joint without slipping. | High. Maintains full ground feedback, minimizing awkward gait. |
| Natural Barrier Waxes (Beeswax Blend) |
Moderate. Relies on natural paw friction; enhances natural grip slightly. | Low to Moderate. Wears off quickly on wet pavement; ineffective in chemical slush. | N/A (Topical). Must be reapplied every 30–45 minutes of active walking. | Immediate. Zero resistance from the dog during movement. |
| Fabric / Fleece Booties (Sled-Dog Style Cordura) |
Great on deep soft snow; extremely slippery on polished sidewalk ice. | Poor. Absorbs chemical-laden liquid slush directly onto paw tissue. | Moderate. Relies on stretch-velcro; easily pulled off in wet slush. | High. Ultra-lightweight construction feels natural to the dog. |
How Do You Measure and Fit Winter Booties for Maximum Security?
If your dog’s boots keep flying off in the snow, ninety percent of the time it is a measurement error, not a manufacturing flaw. You cannot measure a dog’s paw while they are sitting down or lying on their side with their feet dangling in the air. When a dog places their weight on a paw, the metacarpal bones splay outward, increasing the paw width by up to 25 percent.
Follow this exact sizing protocol before spending a single dollar on winter boots:
- The Weight-Bearing Trace: Place a blank sheet of paper on a hard floor. Have your dog stand squarely on all four legs. Lift your dog’s opposite front paw off the ground so all their body weight shifts onto the paw you are measuring.
- Mark the Outlines: Using a thin pen held strictly perpendicular to the paper, draw a tick mark at the widest point on the left and right sides of the paw pad, and another mark at the tip of the longest toenail. Do not trace the curves—you need linear distance.
- Measure Front and Rear Independently: In over 70 percent of canine breeds, front paws are distinctly wider than rear paws. A Golden Retriever might require a 2.75-inch boot up front, but a 2.5-inch boot in the back. Buying a uniform four-pack based solely on front-paw measurements guarantees the back boots will slip off into a snowdrift.
- Check Dewclaw Clearance: Look at where the boot’s top collar and cinch strap sit relative to your dog’s dewclaw. If the strap tightens directly over the dewclaw, it will cause intense pressure necrosis and friction sores within ten minutes of walking. Select boots with a lower profile or an extended neck that anchors securely above or below the dewclaw joint.
The 3-Step Routine to Train a Dog to Wear Booties Comfortably
Put boots on a dog for the first time without preparation, and you will witness the famous “high-stepping panic walk”—a comical yet stressful display where your dog lifts their legs high into the air as if walking on molten lava. This happens because boots block the nervous system’s ground feedback, tricking the brain into thinking the feet are trapped in mud. You can eliminate this reaction entirely using a simple three-step desensitization routine.
Step 1: Low-Stakes Association (Day 1–2)
Bring the booties out into your living room alongside high-value rewards (freeze-dried liver, hot dog slices, or squeeze-cheese). Do not attempt to put them on your dog’s feet yet. Set a boot on the floor; every time your dog touches it or sniffs it, mark the behavior (“Yes!”) and deliver a reward. Next, gently touch the boot to your dog’s paw, reward immediately, and remove it. You are teaching the dog’s brain that the sight and physical touch of the boot predicts good things.
Step 2: Single-Boot Micro-Sessions (Day 3–4)
Slip a single boot onto one front paw, secure the strap comfortably, and instantly deliver a jackpot reward—such as a lick mat smeared with peanut butter. Leave the boot on for no more than sixty seconds while your dog is distracted by the treat, then take it off before they try to chew or kick it off. Repeat this on opposite paws across several mini-sessions. If your dog shakes their leg, gently redirect their attention with a toy or command. Never scold a dog for shaking their boots; they are reacting to a sensory sensory anomaly.
Step 3: Full-Set Outdoor Transition (Day 5+)
Put all four boots on your dog inside the house, but do not stand around watching them react. The moment the fourth boot strap is secured, immediately open the front door and step outside onto your walk. The rich sensory environment of the outdoors—sniffing trees, moving forward, watching squirrels—will quickly override the localized tactile sensation on their feet. Within thirty seconds of continuous forward motion, most dogs adjust their gait and walk naturally.
What Should You Do Immediately for Salt Burns and Paw Injuries?
Even with the best preparation, accidents happen. If your dog steps into a heavily salted area without protection and begins limping, whining, or holding a paw up, follow this emergency field protocol immediately to minimize tissue trauma and prevent toxic ingestion.
1. Immediate Flush (Do Not Wipe): The worst thing you can do to a salt-burned paw is rub it with a dry towel. Dry rubbing grinds harsh calcium chloride crystals deeper into inflamed, raw tissue. Instead, flush the paws generously with tepid (lukewarm) water. Never use hot water, as localized thermal shock will amplify the burning sensation on vasoconstricted pads.
2. Microscopic Inspection & Cleaning: Once flushed, gently spread the toe pads apart under a bright light. Inspect the interdigital webbing for lingering salt pellets, tiny ice granules, or hairline lacerations. Use a mild, unscented dog-safe soap or dilute chlorhexidine solution to wash away residual chemical residues.
3. Neutralizing Barrier & Recovery: Pat the paw completely dry with a clean microfiber towel. Apply a generous layer of medical-grade silver sulfadiazine cream, pure veterinary hydrogel, or plain petroleum jelly to soothe the chemical burn. Put an Elizabeth collar (cone) or a clean cotton toddler sock on the dog’s foot to prevent them from licking off the topical ointment.
4. Vet Threshold Evaluation: Monitor your dog closely over the next 12 to 24 hours. Seek veterinary care immediately if you observe deep split fissures wider than two millimeters, raw skin exposing underlying pink dermis, bleeding that persists past five minutes of light pressure, or systemic signs of toxicity such as excessive drooling, lethargy, vomiting, or unquenchable thirst.
Frequently Asked Questions
Can I use regular Vaseline on my dog’s paws instead of buying specialized boot wax?
While petroleum jelly (Vaseline) is non-toxic and provides a temporary moisture barrier, it is not an ideal substitute for dedicated paw waxes like Musher’s Secret. Vaseline has a much lower melting point, meaning it liquefies and rubs off onto warm pavement or indoor rugs almost instantly. Furthermore, Vaseline does not create the same firm, hydrophobic matrix that prevents deep snow from balling up between the toes.
Why do my dog’s winter boots keep turning upside down while walking?
Boots flip upside down primarily when the strap is tightened around the wide part of the foot rather than the narrowest point of the ankle ankle joint above the stopper pad. Additionally, if the boot’s footbed is too wide, the dog’s paw will rotate internally inside the boot shell. To fix this, ensure the boot fits snug across the width of the pad, and cinch the primary hook-and-loop strap firmly around the narrow section of the leg.
Is pet-safe ice melt actually non-toxic to dogs?
Commercial ice melts labeled “Pet Safe” usually substitute harsh calcium chloride with magnesium chloride or urea (carbonyl diamide). While these compounds are significantly less exothermic and far gentler on skin webbing, they are not completely non-toxic. If ingested in high quantities from licked paws, pet-safe alternatives can still cause severe gastrointestinal upset, vomiting, and electrolyte imbalances. Always wipe your dog’s paws after walks regardless of what de-icers were used.
How cold does it have to be for a dog to need winter booties?
Absolute temperature is only one variable. As a baseline rule, temperatures below 20°F (-6°C) pose a severe risk for tissue freezing and frostbite during extended exposure for non-arctic breeds. However, booties should be worn at higher temperatures (even 35°F) if sidewalk chemical de-icers, slush, or hard-crusted sharp ice are present on your route.
Hyperkeratosis crusts crack and bleed rapidly when exposed to winter sidewalk de-icers. For physical bootie barriers and chemical salt defense, see our report on Dog Paw Pad Hyperkeratosis: Causes & Healing Salves.